
|
Home Setting up Transferring existing writing | Summary Cards Finishing your novel Chapters and Files | Editor Printing Spell check Word Usage |
|
Quick Start Guide: 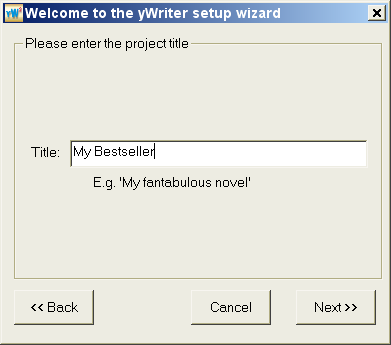 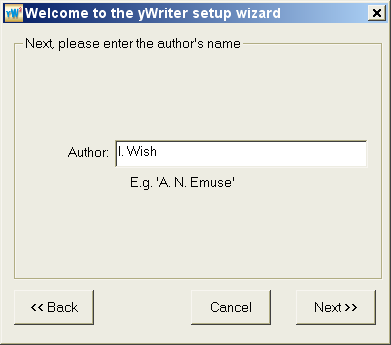  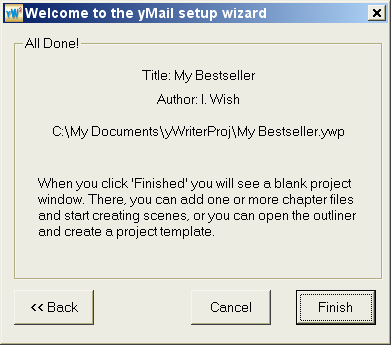 Click File - Add (or File - New Chapter File). That's your chapter. Now change the description of the file (click once on it, in the left hand window) and call it something like Chapter 1. Press enter to set the new name. Double-click the Chapter 1 entry in the left-hand menu. Now you're looking at the editor window, with Scene 1, Chapter 1. Enter text, enter the protag name, save and exit. When you click Chapter 1, the right hand window shows the scene list (just 1 at the moment) Double-click Chapter 1 again, then choose Scene - New. Use a different protag name, enter some different text, save and exit. Now you can see two scenes in chapter 1 Go ahead and write the whole novel, in chapters and scenes. You can drag/drop scenes to rearrange them and move them from one chapter to another. When the novel is finished, save all files combined into one. That's the one you load into word for spell, grammer checking. Fini! yWriter's main menu is basically just a list of files. These can be character information sheets, scenes or entire chapters. What makes yWriter a bit more useful than a plain directory listing or Explorer window is the fact it will give you word counts on each piece of text, allow you to give them a title (which need not be related to the filename) and the files can be anywhere on your hard drive. When you start yWriter for the very first time, you will be facing a blank list. (If you've used it before it will load the previous project automatically). Before you do anything else, save the startup project in a suitable location. I would highly recommend creating a blank folder for each project - e.g. C:\My Documents\My Novel\ Before we save the project, let's change the title. Click on the text box with the words 'New Project' in, and enter something more appropriate. ('My Bestseller' is better). Now click the Project menu item and select 'Save As...' Navigate to your project folder (or create one in the file selection window) then enter a new filename and click OK. If you have some existing text files you'd like to add to the project, you'll have to copy them to the project folder first. This is a change from previous versions of yWriter. Once copied to the folder, you can add them all in one go with the 'Add Multi' menu option. Alternatively, you can add them one by one using 'Add File' To create a blank chapter file, click File New then type the filename in the text field at the bottom of the file selector window. Click OK to accept the new filename. You will now see the new file in the main menu. The description will be the same as the filename, and the word count will be 0. Let's change the description: Left-click the filename in the list, then right-click to bring up a context menu. Look near the bottom and you will see a 'Change Description' heading. Click this with the left mouse button, and enter something a bit more excitiing than the filename. Then click OK to save the new description. Note that the file list changes to show the new information, but we haven't saved the project yet so nothing is stored. If you like, you can use the Create Chapters option to generate a set of files automatically. Provided the file descriptions start with 'Chapter' you can even tell the program to renumber them - for example, if you move chapter 16 up between chapters 4 and 5, click renumber to fix the chapter headings. Now that you've learnt how to set up a new project and add files, it's time to move on to the 'Housekeeping' section. |